Hi Philippines
SIM or eSIM in the Philippines?
How to think about getting connected before you start moving between islands.
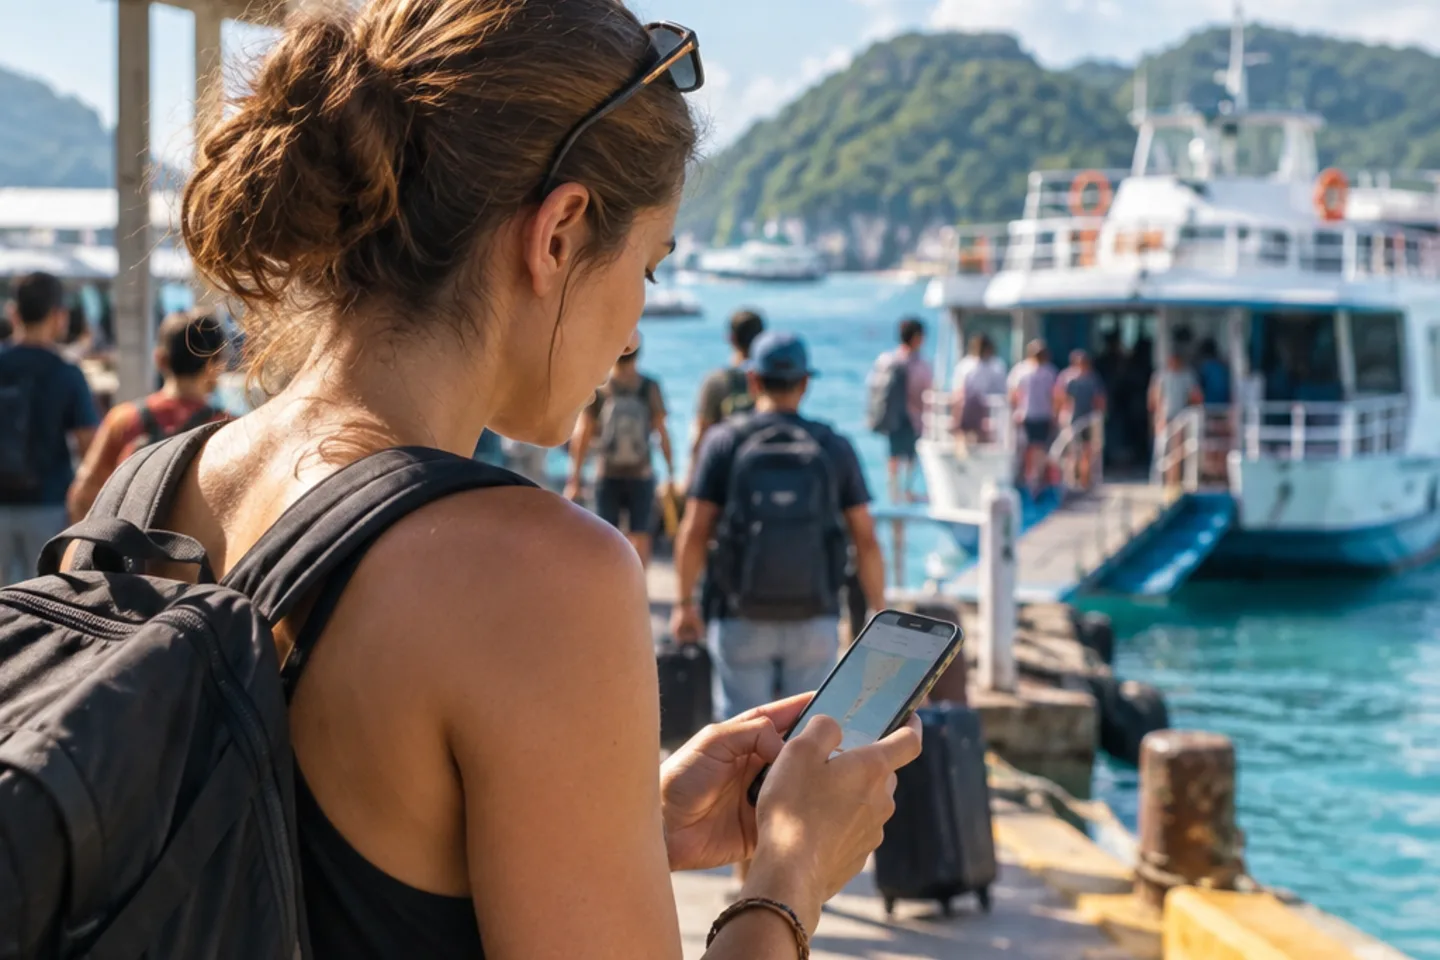
Short answer
Pick a connection plan before you leave your arrival city. An eSIM is convenient if your phone supports it and you can activate it early. A local physical SIM can be flexible and often cheaper, but it may take more time and paperwork at a counter. Coverage and prices change — confirm the offer you buy for your dates rather than copying an old tip.
Who this helps
Useful if you hop islands, use maps and ride apps, watch ferry or flight changes, or message hotels from the road. Less urgent if you only need hotel Wi-Fi — though island transfers still get easier with data. See Your First 24 Hours in the Philippines.
Why connection matters on this trip shape
Data is for maps, ride-hailing where it exists, ferry and flight updates, hotel messages, weather checks and finding an ATM when cash runs low — not only for social media. What Ferries Are Actually Like and Cash, Cards and ATMs both assume you can look something up when plans move.
How to choose (editorial)
Lean eSIM if:
- Your phone is unlocked and eSIM-capable
- You want setup before or just after landing with less counter time
- You are fine managing plans in an app
Lean local SIM if:
- You want a staffed counter option or a dual-SIM workflow
- Your phone does not support eSIM
- You prefer buying and topping up in person as you go
There is no universal winner. Device support, unlock status and how fast you need data on night one decide more than brand loyalty from a blog post.
Prepare before you need signal
- Confirm your phone is unlocked and whether it supports eSIM.
- Decide whether connection happens before the first transfer out of the arrival city.
- Keep hotel Wi-Fi as a backup for setup screenshots — not as your only plan for the whole day.
- Save offline maps for the first transfer if you can.
- Operator names, promo prices, validity windows and coverage claims are time-sensitive. Recheck the current offer when you buy.
When connection plans fail
- Activation delay — have hotel Wi-Fi or a short offline buffer so you are not stuck outside the airport with no map.
- Weak island signal — step outside concrete, try another spot, or message your hotel while you still have a bar; do not assume every beach and inland road matches city coverage.
- Wrong plan or expired promo — top-up options and rules vary; confirm before you leave a place with a shop or stable Wi-Fi.
- Dual needs (work + travel) — some travelers keep a home line on eSIM/physical and use a local data line for the trip; test that setup before you rely on it.
Destination differences (editorial)
- Arrival cities / mall corridors — easier to buy, activate and troubleshoot.
- Smaller islands and boat towns — fewer shops and slower errands; arriving already connected is calmer.
- Transfer-heavy weeks (for example Palawan Without Rushing with Coron and El Nido) — data helps when the hinge day moves; do not wait until the second base to sort a SIM.
Common mistakes
- Waiting until a small island to “just buy a SIM.”
- Assuming eSIM works without checking unlock and device support.
- Relying only on airport Wi-Fi for the whole first day.
- Treating last year’s promo price or coverage claim as current fact.
- Skipping connection until after a ferry or late transfer when you most need maps.
Compact checklist
- Phone unlocked; eSIM support checked if relevant
- Connection plan before leaving the arrival city
- Backup: hotel Wi-Fi + offline maps for hour one
- Current plan/promo rechecked at purchase time
- Top-up path known before heading to a smaller island
- Cash float still in place for days when apps struggle — Cash, Cards and ATMs